Ciao a tutti voi!!!
Oggi sono qui con voi per farvi vedere un Tutorial su come si
crea una Book Card.
Io amo molto questa struttura e spero che sia anche di vostro gradimento.
Hy everybody !!!
Today I am here with you to show you a tutorial on how to
create a Book Card.
I really love this and I hope you too.
Materiali:
Cartoncini Bazzil
Nastro
Colla
Adesivo
Righello
Matita
Scoring board
Carte design
Materiale per decorare a vostro piacimento
Materials:
cardstock Bazzil
tape
glue
adhesive
ruler
pencil
scoring board
Design papers
Material to decorate to your liking
Pezzi da tagliare
1 Cartoncino Bazzil 30,5 x17,7 cm
4 Cartoncini Bazzil di un'altro colore 17,2 x12,1 cm
4 Carta design 16,7 x11,5 cm
2 Cartoncini Bazzil secondo colore 17,2 x4,5
2 Carta design 16,7x4
Pieces to cut
1 Bazzil x17,70 30.5 cm
4 Bazzil of another color x12,1 17.2 cm
4 Design paper 16.7 cm x11,5
2 Bazzil second color 17.2 x4,5
2 Design paper 16,7x4
Fase 1
Per la copertina della card prendere il Bazzil 30,5x 17,7
e fare delle pieghe a 5 pollici da ogni estremità.
Le misure delle pieghe sono in pollici visto che usiamo la scoring board.
Step 1
For the cover of the card take Bazzil 30,5x 17.7
and make the folds to 5 inches from each end.
The measures of the folds are in inches since we use the scoring board.
Fase 2
Prendere tutte le carte tagliate
Step 2
Take all the cards cut
Fase 3
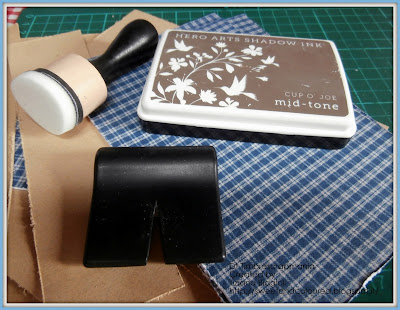
Distressate tutti i pezzi
Step 3
Distressing all pieces
Fase 4
Incollate i pezzi
Step 4
Glue the pieces
Fase 5
Mettete il bioadesivo nella parte interna della copertina e poi
mettete in nastro che servirà per chiudere la nostra card.
step 5
Put the bioadhesive in the inside cover and then
put in the tape that will serve to close our card.
Fase 6
Incollate tutti i pezzi sia dentro che fuori
step 6
Glue all the pieces inside and out
Fase 7
Ora facciamo la struttura interna.
Ci occorrono
2 Cartoncini Bazzil 16,6x 29,2 cm
2 Cartoncini Bazzil 11,6 x29,2
step 7
Now we do the internal structure.
we need
2 Cards Bazzil 16,6x 29.2 cm
2 Cards Bazzil 11.6 x29,2
Step 8
Adagiare il primo pezzo e fare le pieghe ogni 1/2 pollice.
Fare la stessa cosa su tutti i pezzi.
Step 8
Lay the first piece and make the folds every 1/2 inch.
Do the same on all pieces.
Step 9
Piegare formando una fisarmonica
Step 9
Fold forming an accordion
Fase 10
Mettere la colla sulle estremità
step 10
Put glue on the ends
Fase 11
Incollate i due pezzi
step 11
Glue the two pieces
Fase 12
Incollate gli altri pezzi formando un rettangolo.
Infine incollatelo all'interno della card.
Poi decorate la vostra card come più vi piace.
step 12
Glue the other pieces to form a rectangle
Finally paste it into the card.
Then decorate your card however you like.
Questa è la mia card che avete già visto per il nostro Challenge,
dove ho usato questa struttura.
This is my card that you have already seen for our Challenge,
where I used this structure.
Spero che il mio tutorial sia stato di vostro gradimento e sopratutto che sia di aiuto !!!
Vi invito a partecipare al nostro Challenge cliccate qui.
Vi auguro una meravigliosa giornata....A presto!!!
Hugs Tiziana
I hope my tutorial was to your liking and above all that is of help !!!
I invite you to participate in our Challenge click Here.
I wish you a wonderful day .... See you soon !!!
Hugs Tiziana


